How To Use Google Tag Manager The Right Way

Data is the king in digital marketing. No matter what type of website you run, whether it’s a small business site or a large e-commerce site, you need to know exactly how people interact with it. One of the base tools that almost everyone is using is Google Analytics but it does have some limitations when it is used alone. Not many people know this, but you can actually tag your site using Google Tag Manager (GTM) in conjunction with Google Analytics, and that will enable you to collect much more data. Google Tag Manager does not replace Google Analytics but they rather work together. Google Tag Manager empowers Google Analytics and gives it better and more specific data. It also integrates your other google tags, such as those needed to manage your Google Ads campaign.

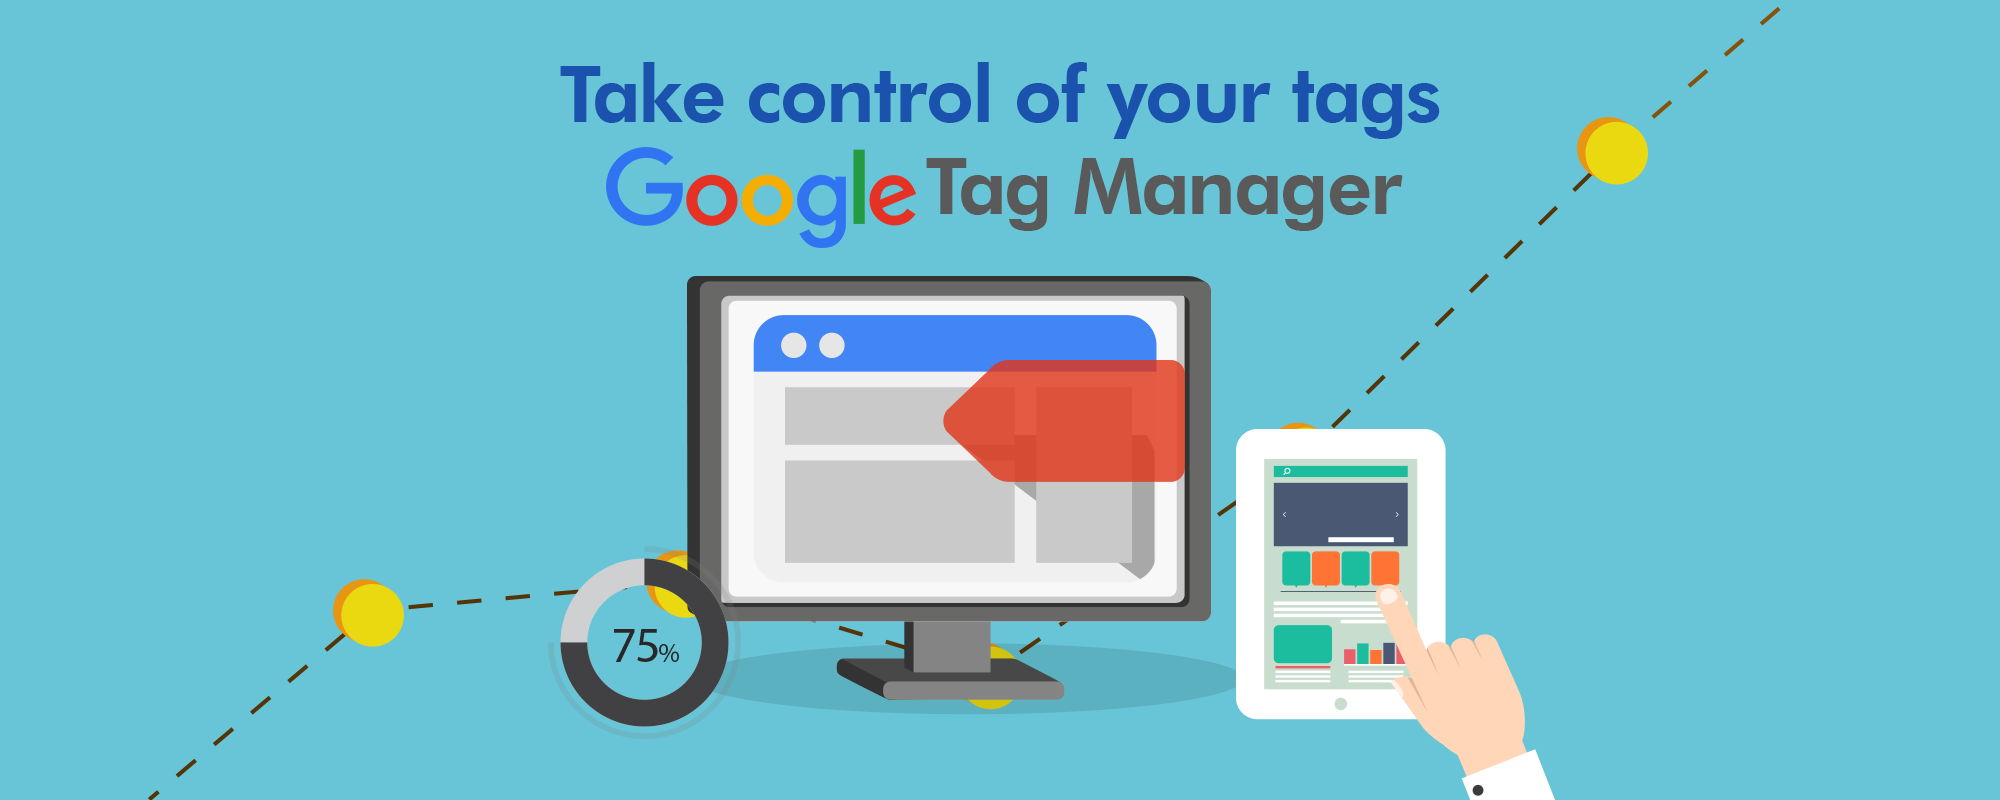
First, let’s see what tag managers are. Tag manager is a dashboard that’s made for marketers so they can manage anything related to tracking their results. Google Tag Manager was announced back in 2012 and it enables website owners to see every single click that happens on their site. Before it existed, website owners had to insert code on their pages for every tracking service they wanted to use. They also had to manually insert code into buttons and links for tracking purposes. With Google Tag Manager, the only code you need to add to your pages is its code and that’s it. Once you know how to use it, you’ll be able to completely bypass your developer and make it easier for you to tag actions that your visitors are taking.

logo

Tags are just snippets of code that you add to your site in order to collect information. That information is then sent to third parties and you can use tags for conducting surveys, scroll tracking, monitoring form submissions, heat maps, remarketing, and more. Tags are also used for monitoring events such as clicks on certain links, downloads, shopping carts, etc.

Many sites usually implement multiple different types of tags and what ends up happening is that the amount of code ends up pretty overwhelming. Google Tag Manager is a more user-friendly way of doing just that through a web-based interface. With it, you can add, disable, or edit tags without messing with the source code. You can use Google Tag Manager not only for Google products like Analytics and AdWords, but also for many other third-party tags like Hotjar, Crazy Egg, Bing Ads, Twitter, and others. You also have a freedom of adding your own custom code. By utilising tag managers, you’re avoiding the painfully slow way of doing things and making your time more efficient by cutting down on unnecessary code work that isn’t productive at all. Let’s first see what are the pros and cons of using Google Tag Manager!

The Pros & Cons Of Using Google Tag Manager


Google Tag Manager allows you to set up tags that automatically tracks every time a visitor clicks on your links and sends the details to Google Analytics alongside with the details of when they clicked, what page they were on, what link they click, and more.

The main benefit of GTM is that it makes it easy for anyone to implement tags on a site without having to go through a developer. Instead of having to wait for someone else to implement the tags, you can do it yourself in a matter of minutes! With it, you can completely avoid touching the source code, plus it is very useful in situations where you need a tag on a page for a brief amount of time where placing the tag would maybe take even longer than it would actually be live for.

You can benefit from GTM no matter what kind of business or a website you are running. Because GTM makes it easy to add and edit tags without a developer, this makes it ideal for smaller businesses that maybe don’t even have a technical support and developer on staff. On the other hand, an enterprise-level business usually uses dozens of tags and GTM makes is super easy to manage them all. Google Tag Manager can also be used for mobile apps. With mobile apps, GTM allows you to add and edit tags without having to issue an updated version of the app.

Even though GTM doesn’t require you to mess with a source code each time you want to add or edit the tags, you still need to add the container code to each page of your website. Also, if you have old tags that you manually added to your site, you’ll need to remove them first so there is no duplicated data.

Another big advantage of GTM is that it loads the tags asynchronously by default. The traditional tracking tags fire synchronously which can slow down site speed. When tags are fired synchronously, if one tag is slow, it’ll also slow down the loading of all the other tags that are waiting on it to finish firing. GTM completely solves this issue and it fires tags anytime they are ready to.

It is true that there is a learning curve to Google Tag Manager but it’s definitely worth it. Just go through the process of creating your first tag and you’ll get a feel for how everything works. Just take it one step at a time and if something isn’t making sense right away, there are plenty of detailed resources online available to help you.

The Components Of Google Tag Manager


Containers

A container is basically a holder for all the tags on a page. When you create a new container, you’ll need to add the container code to the source code so it displays on pages of your website. If you are using WordPress, there are plugins available to help you add the container code. Once that is done, you can then add and edit tags as needed through the Google Tag Manager dashboard.


Triggers

Triggers are events and each tag needs to have at least one trigger assigned to it otherwise it’s not going to function at all. An example of an event is when someone downloads a file or when a form is submitted.

When you are configuring a trigger, you’ll be presented with a list of types of triggers (events), and once you choose a type, you’ll then need to set up a filter.


Filters

Filters are divided into three parts: variables, operators, and values. The operator filter tells a tag whether an event needs to equal or if it should be greater or less than a certain value, etc. The value can be a number, price, URL, keyword, etc.

You can see that tags depend on triggers (events), but triggers also depend on variables. Variable is the value that a trigger needs to evaluate to know if it should fire or not. If the value of the variable matches to the value defined in the trigger, the tag will fire. Variables can be reused between tags. You can simply create constant variables that you’ll need to use more than once.

There are two types of variables: user-defined and built-in. There are plenty of built-in variables which are easily accessible in GTM. You can also tweak the settings of each variable. If you can’t find a variable that you need, you can create a user-defined variable. Once you go and create it, you’ll be presented with a list of types of variables to choose from.

variables

Working Inside Google Tag Manager


If you don’t have a GTM account yet, head over to tagmanager.google.com. On this screen, simply enter your company name and click “Continue”.

Setup Account

After that, you’ll need to set up a container. Here, enter your domain name and choose Web if you’ll use it on your website. It is advisable to use only one container per domain. You won’t need to create a new container for each page of your website because tags can all be placed in a single container.

Setup Container

Once you’ve created the container, you’ll be given your container code like this:

Container Code

You’ll then just need to add this container code to your website below the <body> tag and you’re done! Next, you can go ahead and start creating some tags. There aren’t any limits to the number of tags you can put in a container but Google suggests to keep the number as low as possible for best performance. If you’re using some other tag manager and are migrating to Google Tag Manager, that would be a good time to check out what tags you’ve added to your source code and possibly remove some if they are outdated or no longer being used.


How To Create A Tag

To create a tag, simply select a container that you’ve just created and then click “Add a new tag” It is very important to name your tags neatly. This is especially important if you are using multiple tags because it is very easy to get confused about which tag does what. A good naming scheme is tag type – detail – location, e.g. Google Analytics – Form Submission – Homepage.

New Tag

Once you click “Add a new tag”, you’ll need to configure a few things. First, select “Tag Configuration” and there you can choose one of the presented templates which include some of the most commonly used types of tags so you don’t have to create one from scratch. On the same screen, you can also create a tag that you want if it is not listed by default.

Tag Configuration

After tag configuration is done, you’ll need to create at least one trigger. To do that, just click the “Triggering” box to get started. Here, you can select one of the previously created triggers or create a new one if you didn’t create any in the past. If you want your tag to fire only on one page, choose “Some Page Views”. Below, create a filter with a URL where you want that tag to fire. You can add more filters by clicking the (+) button and remove them by clicking the (-) button. Once you have configured your tags, simply save it and then make sure it is working properly before publishing it.

Trigger Configuration

Once you publish your tag, it will be passing data to Google Analytics automatically. Be sure to avoid duplicating your data. This can happen if you use Google Tag Manager to control your Google Analytics account while you have your Google Analytics code already installed on your website.

It is also possible to set up a tag that automatically reports your product sales to Google Analytics if you are running an e-commerce store. To do that, you’ll need to dive into some advanced ways of using variables and into data layers which are snippets of code on your page that holds information.

GTM and Google Analytics also enable you to utilize user ID tracking. Used ID tracking basically allows you to assign a unique identifier to each user and then track their visits no matter what device they are using. This is a new feature that Google Analytics released a few years ago called universal analytics. It fully enables you to track users as they switch from using their mobile phones to their laptop, a laptop and back again.

CONCLUSION


Any time is good to migrate to Google Tag Manager if you are not using it yet. As with all the powerful tools, take your time because there is no need to rush. Learning how to use GTM in depth can be overwhelming and this guide helped introduce you to the tool. There is still plenty to learn if you want to master Google Tag Manager and Google offers a lot of helpful resources.

Google Tag Manager allows you to set up everything from basic page view events to advanced things like user-ID tracking and e-commerce. There are many benefits to using GTM, from improving website speed and easy tag management to having access to advanced analytics and fast tag deployment. It is also completely free so there is no reason why you shouldn’t start using it on your website.