
This tutorial shows you how to set up your iPhone to work with your POP3 email account. For tutorials on setting up your Email on a Blackberry or other platforms, please see our other Knowledgebase Help Guides.
To Set Up Your E-mail Account on the iPhone
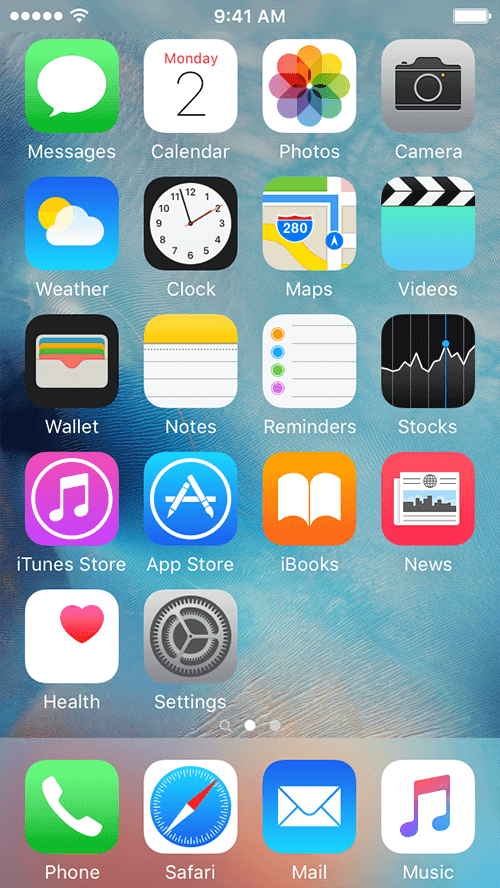
Step 1: Select “Settings” from your SpringBoard.
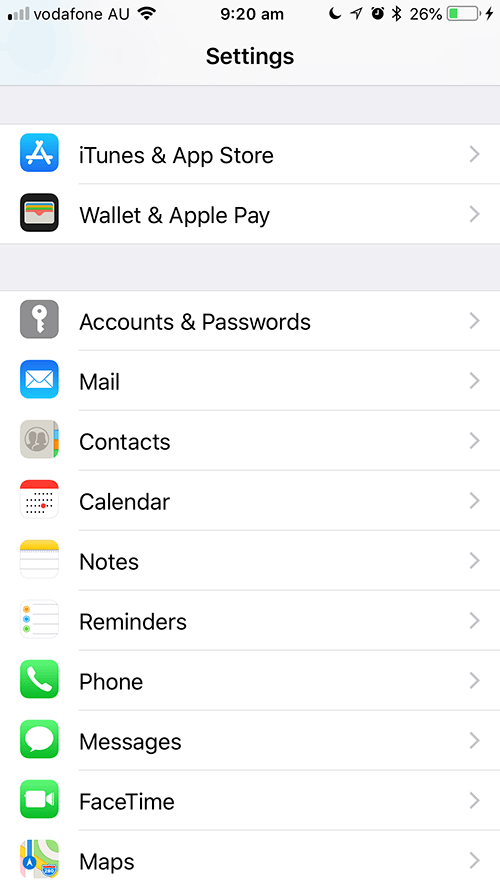
Step 2: Select “Accounts & Passwords” from the “Settings” menu.
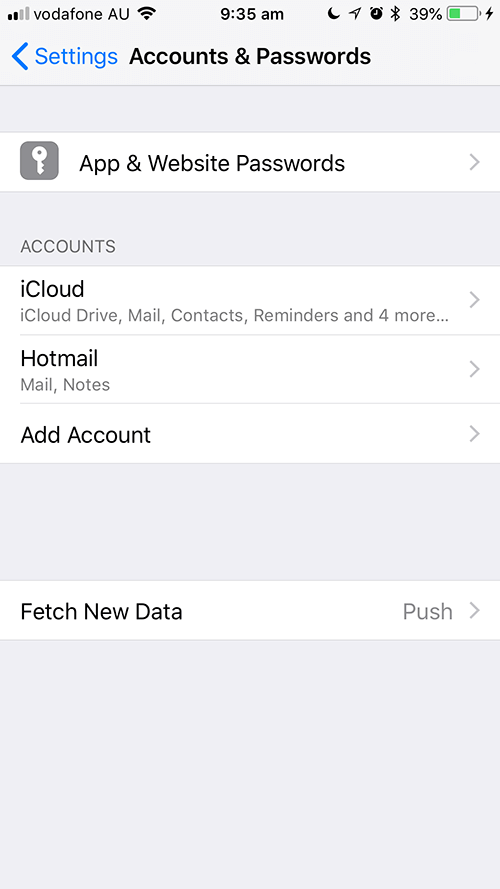
Step 3: Select “Add Account” from the “Mail” menu.
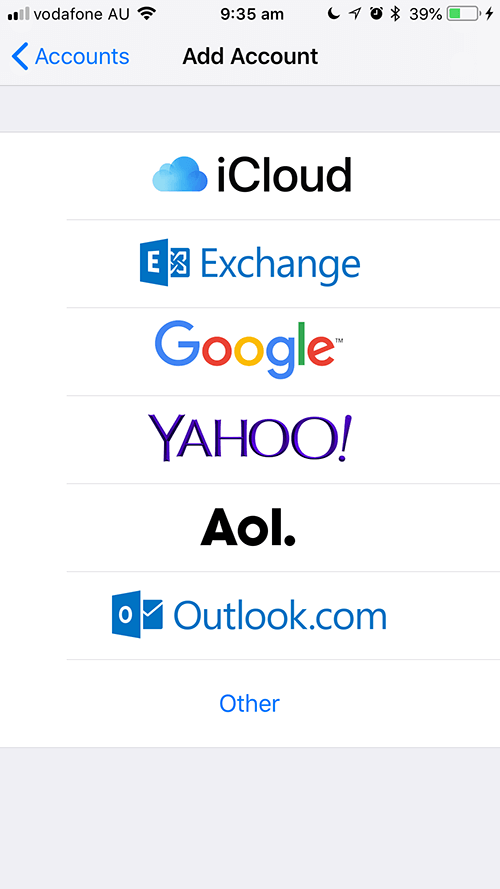
Step 4: Select “Other”.
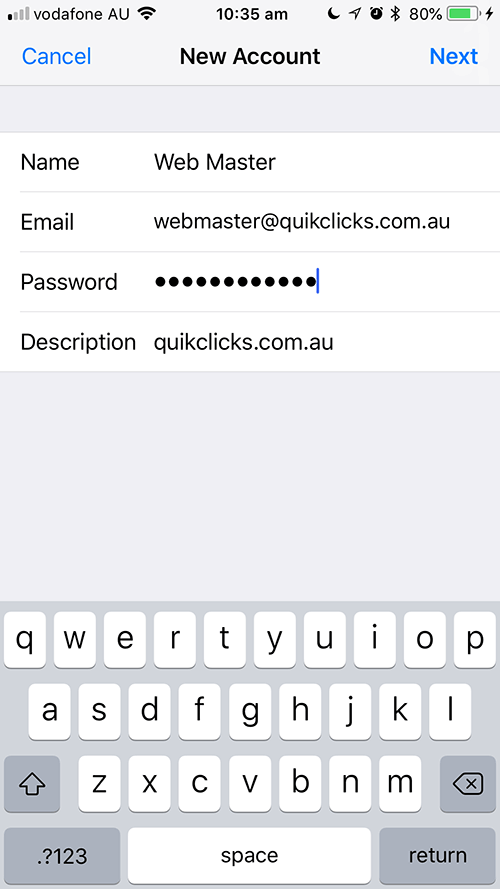
Step 5: Enter “Name”, “Email”, “Password”, “Description”.
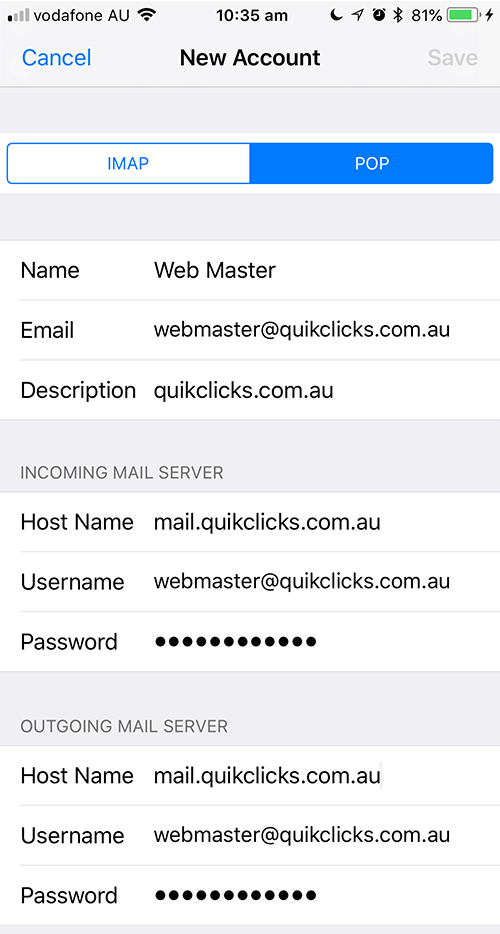
Step 6: Select “POP”. Enter “INCOMING MAIL SERVER” and “OUTGOING MAIL SERVER”. “INCOMING MAIL SERVER” should be same as “OUTGOING MAIL SERVER”. Click “Save”.
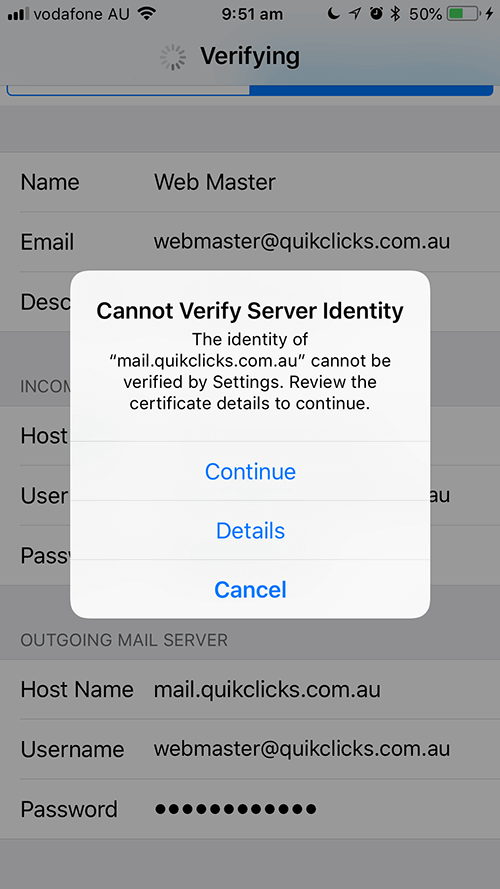
Step 7: You might see a screen below. Click “Continue”.
Step 8: Mail will then check your mail settings. It will verify your settings and add the email account. Now when you press Mail it will take you to your mail account.